

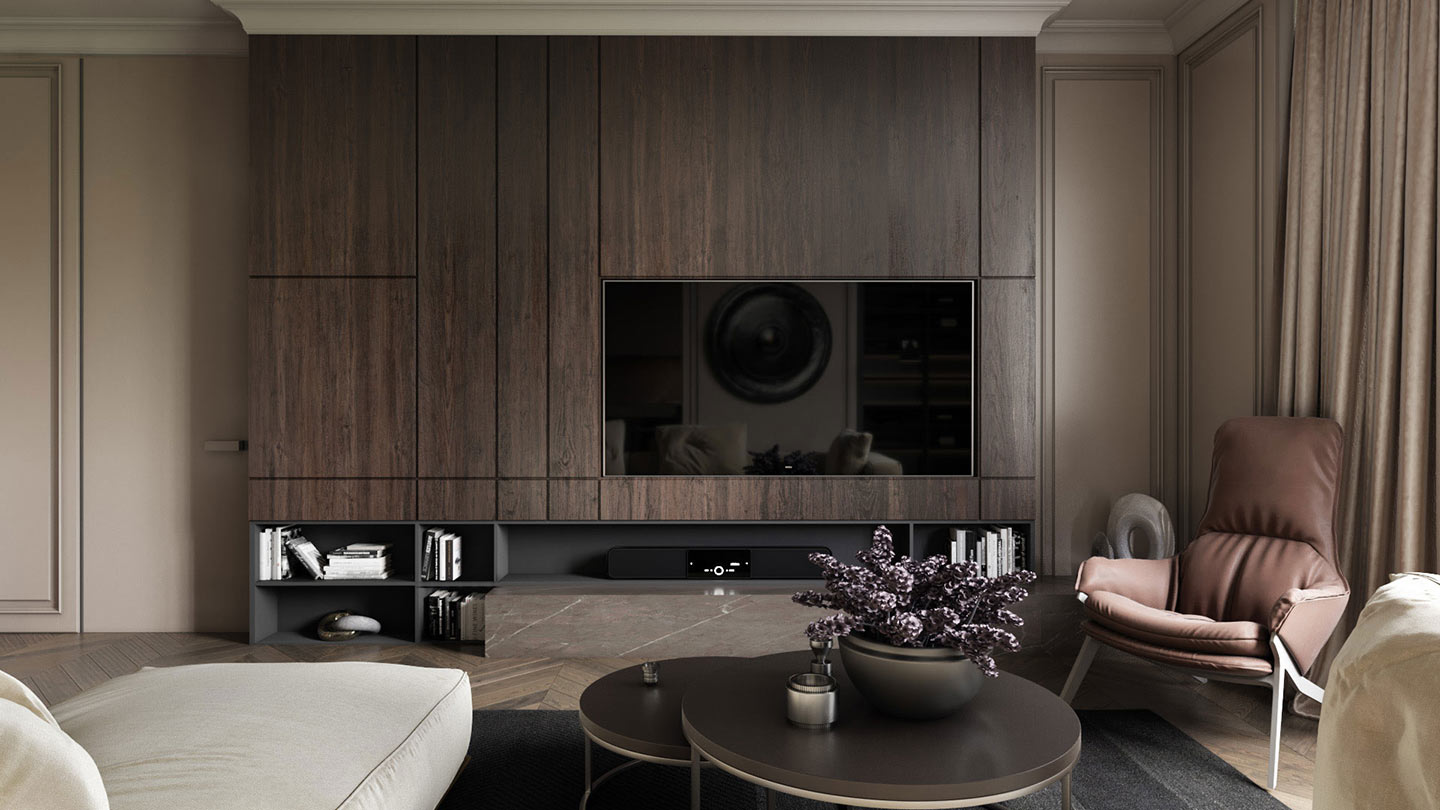
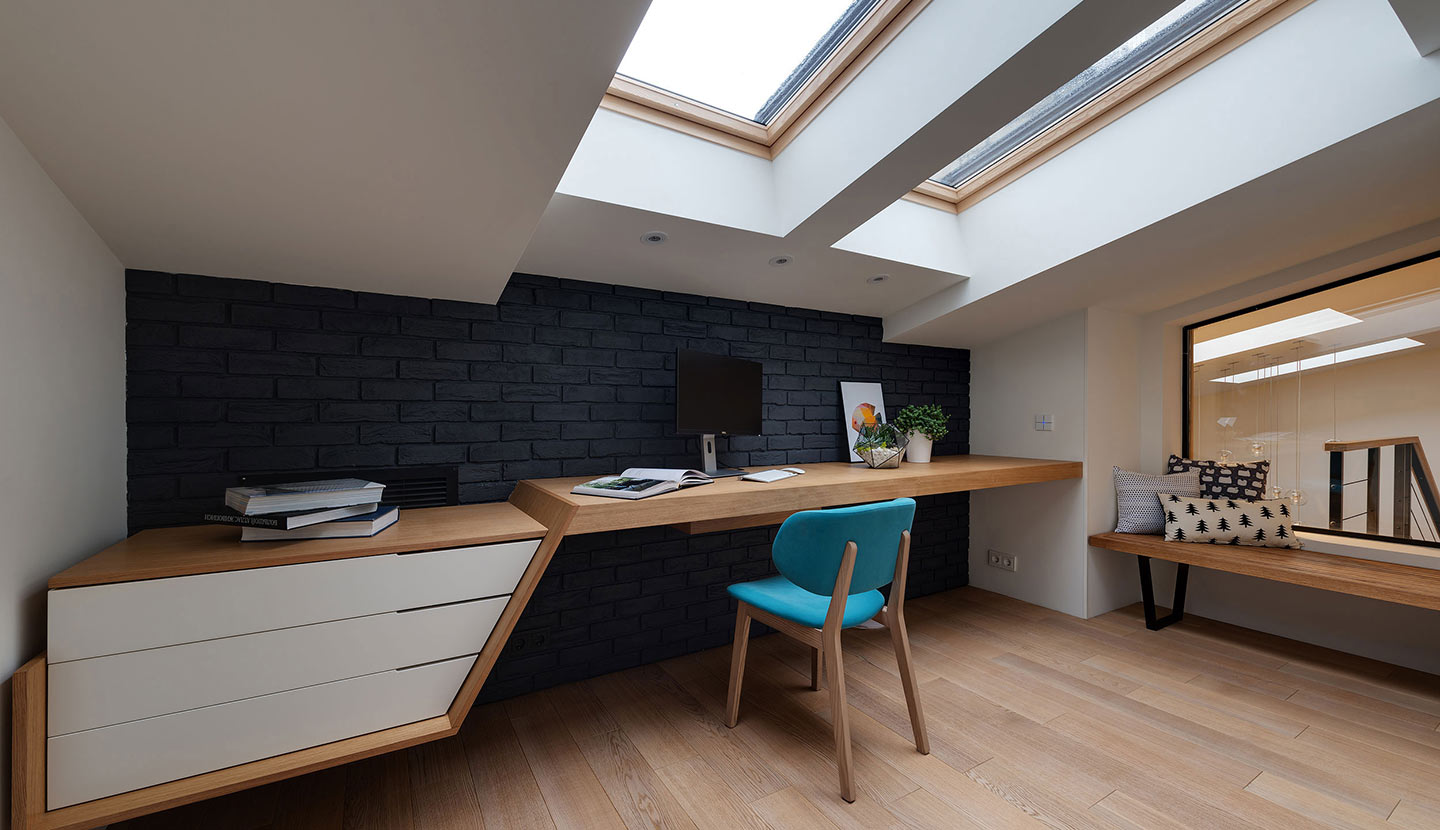
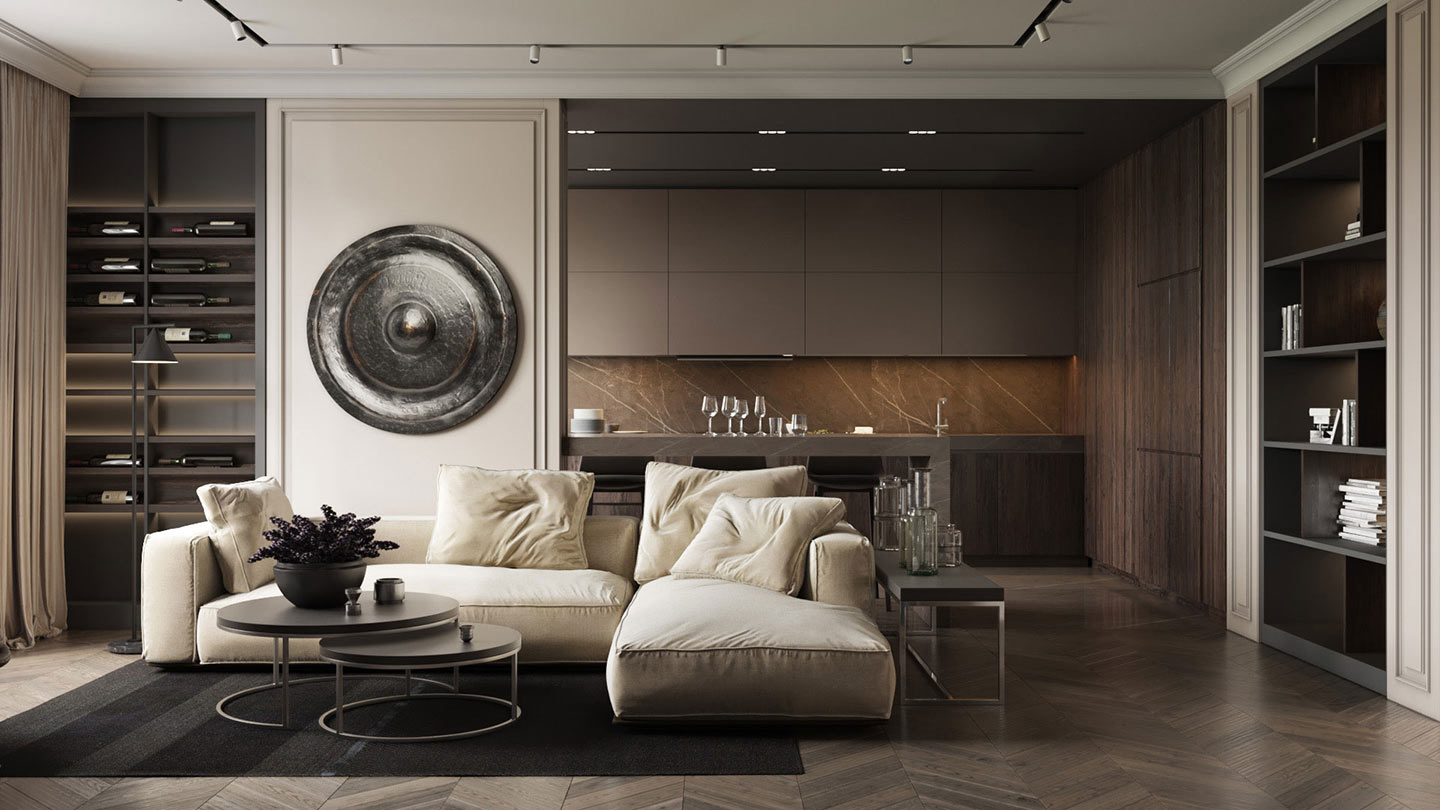
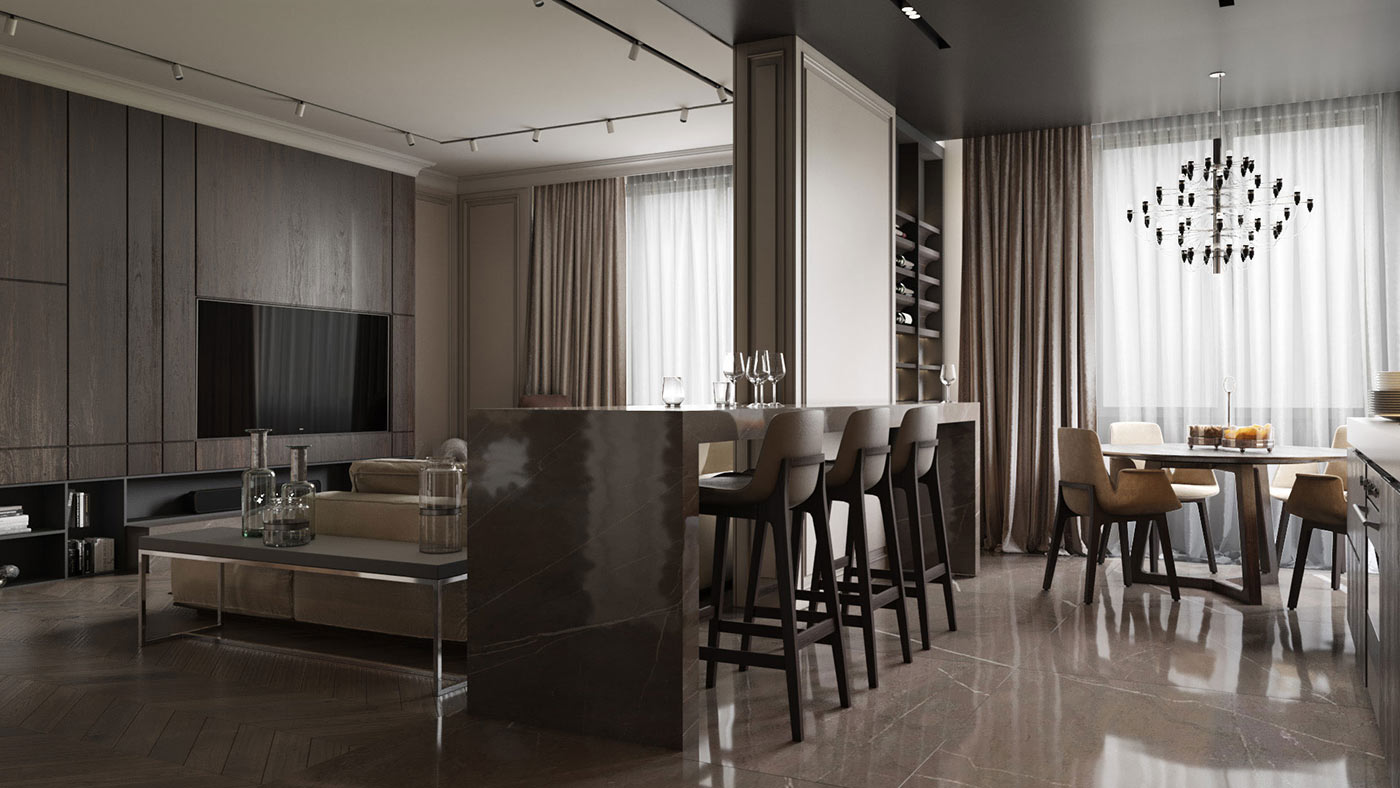
The architectural design process is the complete journey of planning a building from the first idea to the final detailed drawings. It explains every step needed to create a safe, strong, and beautiful building. This process helps people understand how their home, office, or any structure will look and work before construction starts.
It is a mix of creativity, planning, problem-solving, and technical work. The goal is to design a building that is useful, safe, comfortable, and visually appealing.
Why the Architectural Design Process Matters
The design process is important because it guides the whole construction project. Without a proper process, a building can face problems like weak structure, bad space planning, and high construction cost.
Key Reasons Why It Matters
- It reduces mistakes during construction
- It saves money by clear planning
- It helps complete the project faster
- It improves building safety
- It makes the building more useful
- It creates a clear picture before work starts
A good design process ensures a strong foundation for the whole project.
Main Steps of the Architectural Design Process
Below is a clear, simple, and detailed explanation of each step. The language is easy enough for a young student to understand.
Step 1 – Understanding the Client’s Needs
The first step is to understand what the client wants. Every building has a purpose. A home needs comfort, an office needs work areas, and a shop needs display space.
Important Questions
- What type of building is needed?
- How many rooms or areas are required?
- What design style does the client like?
- What is the expected budget?
This information creates the base of the design process.
Step 2 – Studying the Site or Land
The second step is to study the land where the building will be made. Every plot is different, so the design must suit the land.
Things architects check
- Land size and shape
- Sunlight direction
- Wind flow
- Soil condition
- Surrounding buildings
- Any natural features like trees
This study helps create a design that fits perfectly with the area.
Step 3 – Creating Initial Sketches
After understanding the needs and land, the architect makes simple sketches. These are rough drawings that show the basic idea.
Sketch shows
- Room placement
- Entry and exit points
- Window and door positions
- Outdoor areas
- Spaces for movement
This gives the client a clear idea before moving to detailed work.
Step 4 – Drafting the Concept Design
The concept design is the first major layout of the building. It turns the sketch into a clearer plan.
Concept design includes
- Basic floor plan
- Possible room sizes
- Building shape
- Early material ideas
- Design style direction
It helps the client imagine the structure and make early changes.
Step 5 – Developing the Schematic Design
This step improves and details the concept design. It shows the structure more clearly.
Schematic design includes
- More accurate room dimensions
- Wall placement
- Door and window sizes
- Circulation paths
- Early structural ideas
Schematic design helps the client understand how the building will function.
Step 6 – Choosing Materials and Finishes
Materials affect strength, safety, beauty, and cost. This step finalizes the type of materials to be used.
Material selection includes
- Flooring type
- Wall finishes
- Door and window materials
- Paint colors
- Roof type
- Lighting choices
Good materials improve comfort and reduce long-term maintenance.
Step 7 – Creating Detailed Architectural Drawings
After finalizing the design, architects prepare detailed drawings. These drawings guide the builders and ensure correct construction.
Detailed drawings include
- Floor plans
- Elevations
- Cross-sections
- Electrical layout
- Plumbing layout
- Structural details
These drawings are very important because workers follow them step by step.
Step 8 – Making the 3D Model
A 3D model helps the client see the building as it will look in real life. It shows colors, shapes, materials, and lighting.
3D model shows
- Exterior design
- Interior layout
- Furniture placement
- Wall textures
- Lighting effects
This step helps clients make final decisions before construction.
Step 9 – Budget Planning and Cost Estimation
A good architectural design also considers cost. The architect shares estimated expenses based on material choices and building size.
Cost estimation includes
- Material cost
- Labor cost
- Finishing cost
- Extra features
- Safety requirements
This helps the client plan their budget in advance.
Step 10 – Final Review and Approval
Before construction begins, the full design is reviewed. This ensures that there are no mistakes and everything matches the client’s needs.
Review checklist
- Room sizes
- Space flow
- Safety features
- Ventilation
- Lighting
- Structural strength
Once approved, the project moves to construction.
How Professionals Add Value in the Design Process
Architectural design needs both creativity and technical knowledge. Professionals know how to balance beauty, safety, and function.
Benefits of working with experts
- Better space planning
- Modern building ideas
- Accurate drawings
- Safe structural planning
- Less construction waste
- Controlled budget
- Better final look
Professionals help create a design that is long-lasting and comfortable.
Qualities of a Good Architectural Design
A strong architectural design has certain qualities that make it successful.
1. Simplicity
Simple designs are easy to build, maintain, and use.
2. Functionality
Every room and area should have a clear purpose.
3. Safety
A good design follows safety rules to protect people.
4. Comfort
Proper ventilation, lighting, and space planning increase comfort.
5. Beauty
A design should look good while staying practical.
6. Cost Efficiency
Materials and layout should match the client’s budget.
Common Mistakes in Architectural Design Process
Many people make mistakes when planning their building. Avoiding these mistakes can save money and time.
Mistakes to avoid
- Not studying the land
- Ignoring sunlight and airflow
- Choosing wrong materials
- Making rooms too small or too big
- Poor placement of windows
- Skipping detailed drawings
Avoiding these problems improves the final result.
Tips to Improve Your Architectural Design Process
Here are simple tips anyone can follow:
Plan for the future
Think about family needs or business growth.
Use natural light
Buildings feel fresh and bright with sunlight.
Keep enough open space
Too many walls make spaces feel tight.
Focus on ventilation
Fresh air is important for health and comfort.
Discuss clearly with your architect
Clear communication avoids mistakes.
Conclusion
The architectural design process is a complete path from the first idea to the final drawings. It includes understanding needs, studying land, planning layouts, selecting materials, making detailed drawings, and preparing a 3D model.
A strong design process helps create a safe, comfortable, and beautiful building while saving time and cost. Whether it is a home, office, shop, or any structure, following this process brings the best results.